Receipt Info Entry
Once a shipment has arrived to the warehouse, the first step in the receiving process is to match the shipment with a pre-existing ARN in the system. If one does not exist, a new ARN entry is required (see ARN Entry).
Note: All Receipts begin with the creation of an ARN document.
Once an ARN has been created or located, the user has the option to update the Receiver's header information by ARN#.
To update the receiver's header information:
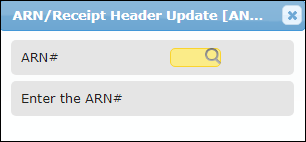
1. Access the "ARN/Receipt Processing Menu" and select "Receipt Info Entry".
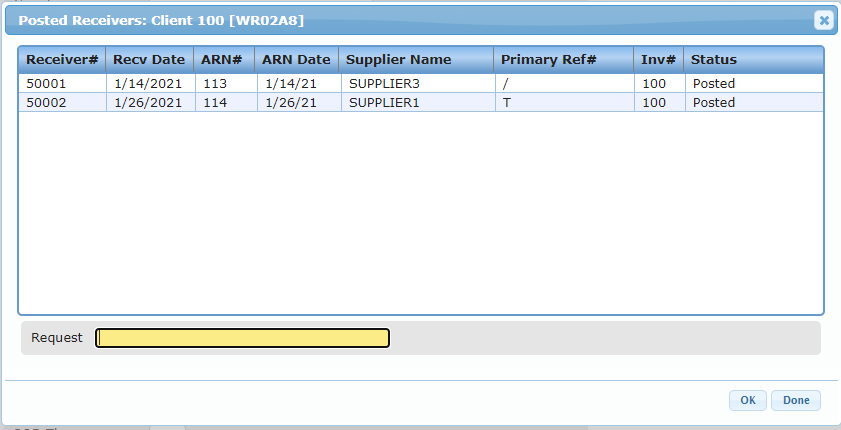
2. Enter an ARN#, or click the Arrow Button to search for an ARN.


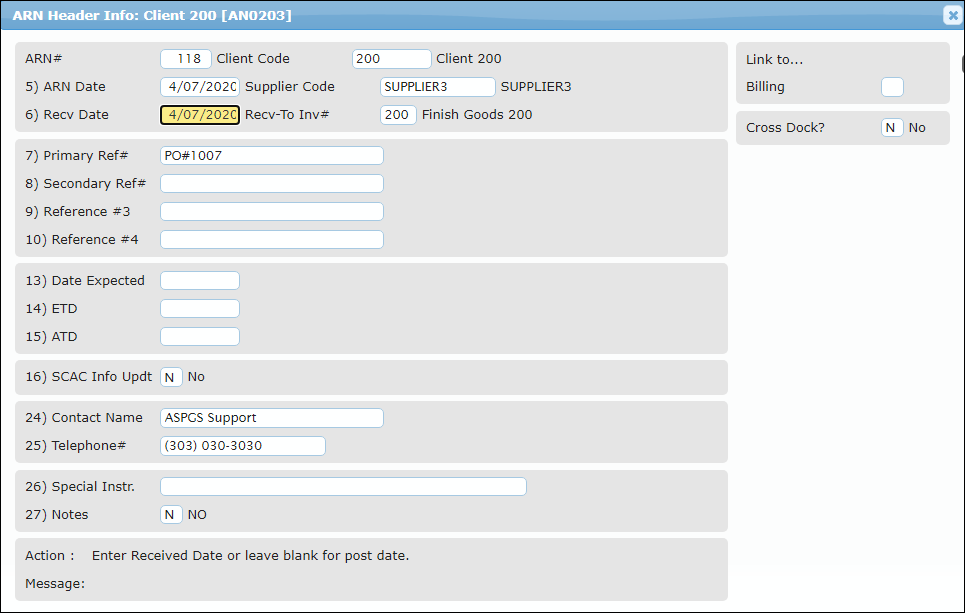
3. After a valid ARN is selected, the system displays the ARN's current header settings. This data may be modified to reflect the Receiver's header information.

4. At the "Recv Date" prompt, the user may type the Receiver's Date manually (Actual Time of Arrival), or leave it blank to have the system update the date later with the Receiver's Post Date.
5. The other fields in the "Receipt Info Entry" screen are the same as the second ARN header screen. For instructions on how to enter these fields, see ARN Entry.
Note: Accessing the "Receipt Info Entry" screen is optional. It is not a prerequisite for the Receipt Post to be allowed.